woodworking

A labor of love

It's just a box...

Occasionally I take the time to create something for a gift.

The following project was a graduation present for my oldest child, who went into Engineering.
It is made from the following types of wood:
Pine, Cherry, Walnut, three types of Brazilian Rosewood.

I use old-school methods to treat the woods with a series of oils, stains treatments and wax. I leave some of the work marks in place to give the piece a handmade flavor.
This makes the piece feel like an antique heirloom, rather than a mass produced work.

One man's trash...

…is another man’s treasure. Or so they say. I picked up this table used and in rough shape. I knew it was a classic design, possibly R.J. Horner, possibly even more rare. It had seen better days, for sure. But what I saw in it, was the potential to be restored to it’s previous greatness.

The table, I estimate is from the late 1800s and serves the style of the Victorian age so common to the Americas. The carvings were often modeled after those in Europe, but took on their own sense of regal and majestic opulence. The characters on the base of the table are an amalgamation of the common Lion theme, and of Pan, or a goat-like beast. it is truly a unique, and beautiful piece. When I bought it, the previous owner had plans to ‘paint’ it with chalk paint, but never had the time to do so. So she graciously decided to sell it, as her husband was getting irate that he had no room in his garage. Along with the base, the top and two leaves, she included eight beautiful Chippendale chairs. Truly a great deal for someone such as myself. My wife however, is still on the fence.

Left side pre-initial cleaning, right side after a quick detailing with cloth and Q-tips.

The first step in restoring antique furniture (aside from transporting it, of course) is cleaning it. An age old trick handed down from my Grandfather, is to use Murphy’s Oil soap to clean old furniture, which allows for a thorough cleansing, without removing or destroying the original finish. The removal of ages of dust and dirt can provide a stark contrast in a piece. The simplest of steps can make a world of difference.

Some new trim to replace the missing pieces

It took a looooooong time, to repair and match the finishes of the table base. It appeared as if someone used cleats or very rough work boots on a daily basis. The wheels and other hardware had long-time disappeared and there were many knicks, scratches and even deep gouges in the finish.
Minus a few wood chunks that had been cleaved off and some damaged or missing trim, the base is heavy, and made of Mahogany. The color is a dark, yet natural shade, with a sheen only made possible with old-school techniques. The results were beautiful.

Matching and finding old hardware can be like a scavenger hunt. But the Internet makes this easier. There are many sources with exact, legacy matches, and if worse comes to worst, often there are replicas available. I was lucky enough to find a set of 4 matching wood/metal wheels, and two ball-point wheels for the inside of the base. The two different sizes allow the table to balance when the leaves are placed.

One half of the base.

Top Before stripping and refinish

The top needed to be stripped before the finish could be applied. My philosophy is to do as little repair as possible, and to keep the original provenance intact to the best of ability. So again, for the table top, I only removed what was damaged, and instead of sanding to a new, perfect surface, I left some of the scratches and deep damages to preserve character and texture. Each mark has its own story. And the top of this table, together with its two leaves, had a lot of deep cuts, bangs and scratches from years of use and storage.

Top after stripping and refinish

With each new coat of oil, I added very nuanced shades of pure pigment. As I was in process of stripping the many, many layers of varying treatments, the color purple came out in the remains. So, I used pure pigments in very small amounts (a drop per coat) of brown, red and blue. My goal was to allow the natural beauty of the old wood grain to come through. Despite the styles of 150 years ago, I chose to lighten the top, rather than make it dark to match the base. Again, very subtle. In all I did probably eight coats of oil, and let them dry completely before doing another wet-sand coat. in all, the dry time and total treatments between mineral spirits took nearly a year. The wife was very displeased about the very large table top taking up 1/2 of our two-car garage.

Refinished top

We now use the table and chair sets as our primary dining table. We hope to enjoy this set for many years to come. Half of the joy in completing a restoration project is breathing new life into an old legacy.

A very old, horse hair, Chippendale style chair. One of eight that came with the set.

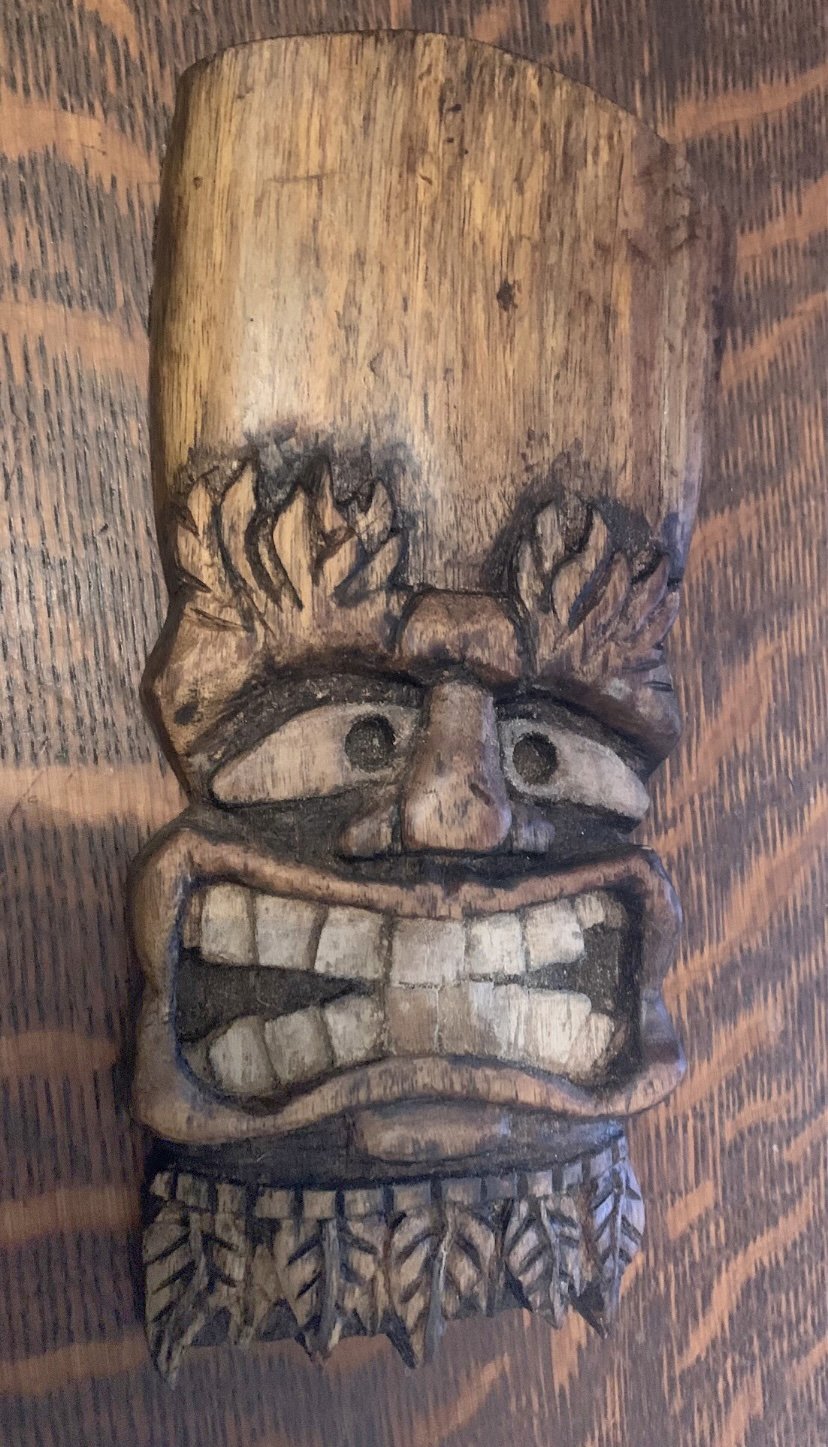
Tiki for a friend...

A friend from work once asked me to carve a Tiki for her. I thought it sounded fun, so my answer was, “Sure. But it may take a long time.”

Which, of course, it did. It took a while because I’m short on time, in general. Aside from a full-time job, writing a book and raising kids, time for other projects is a luxury.

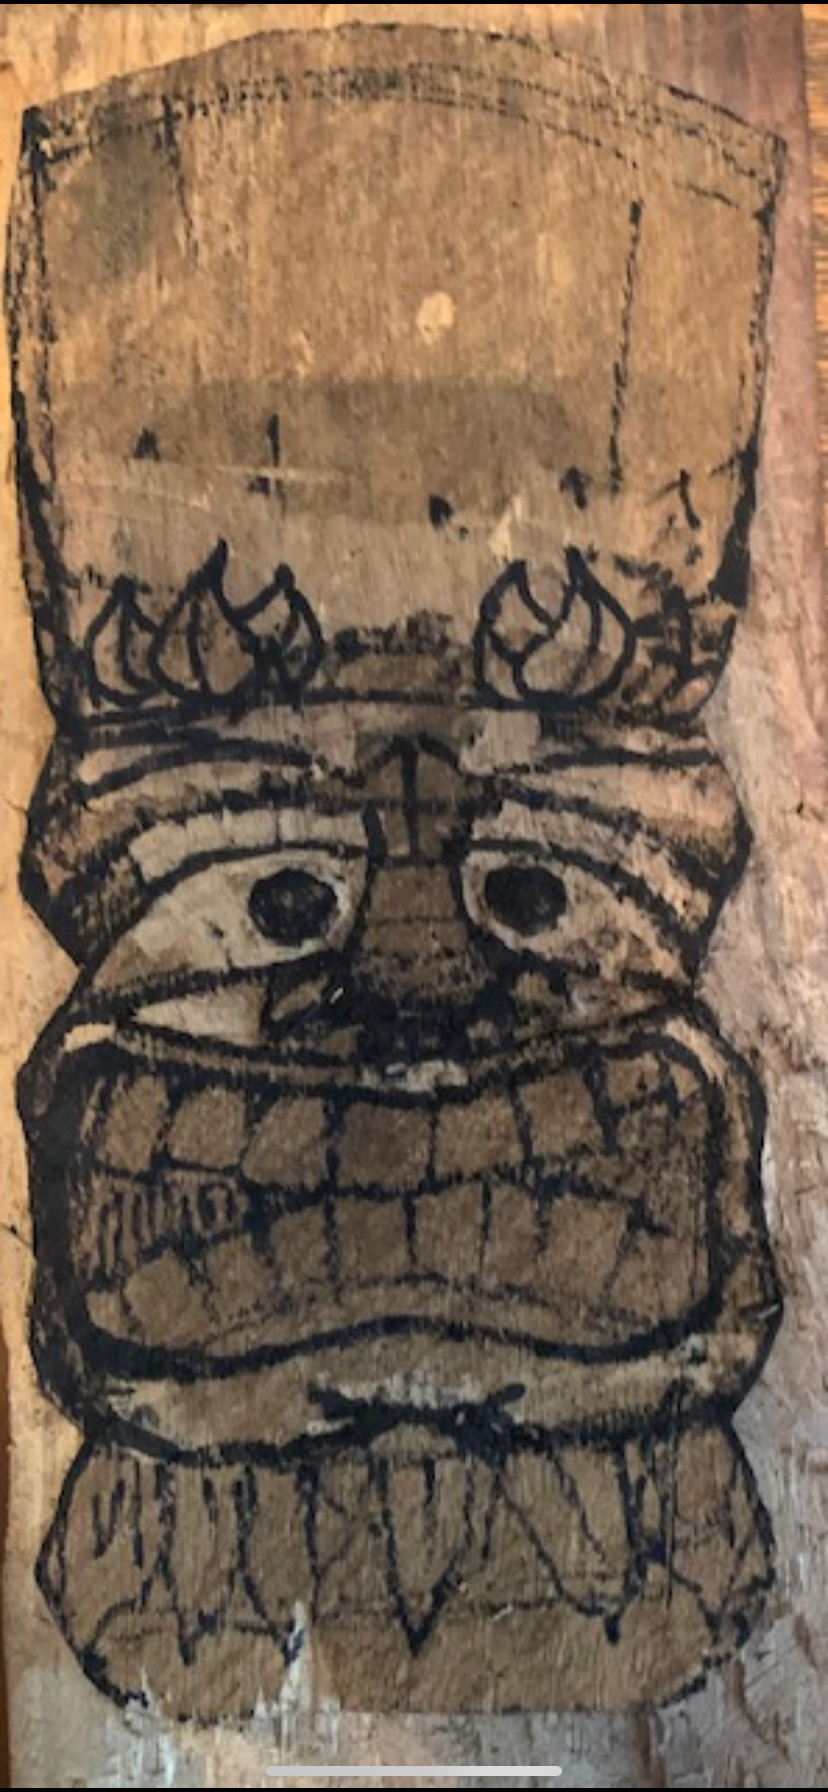
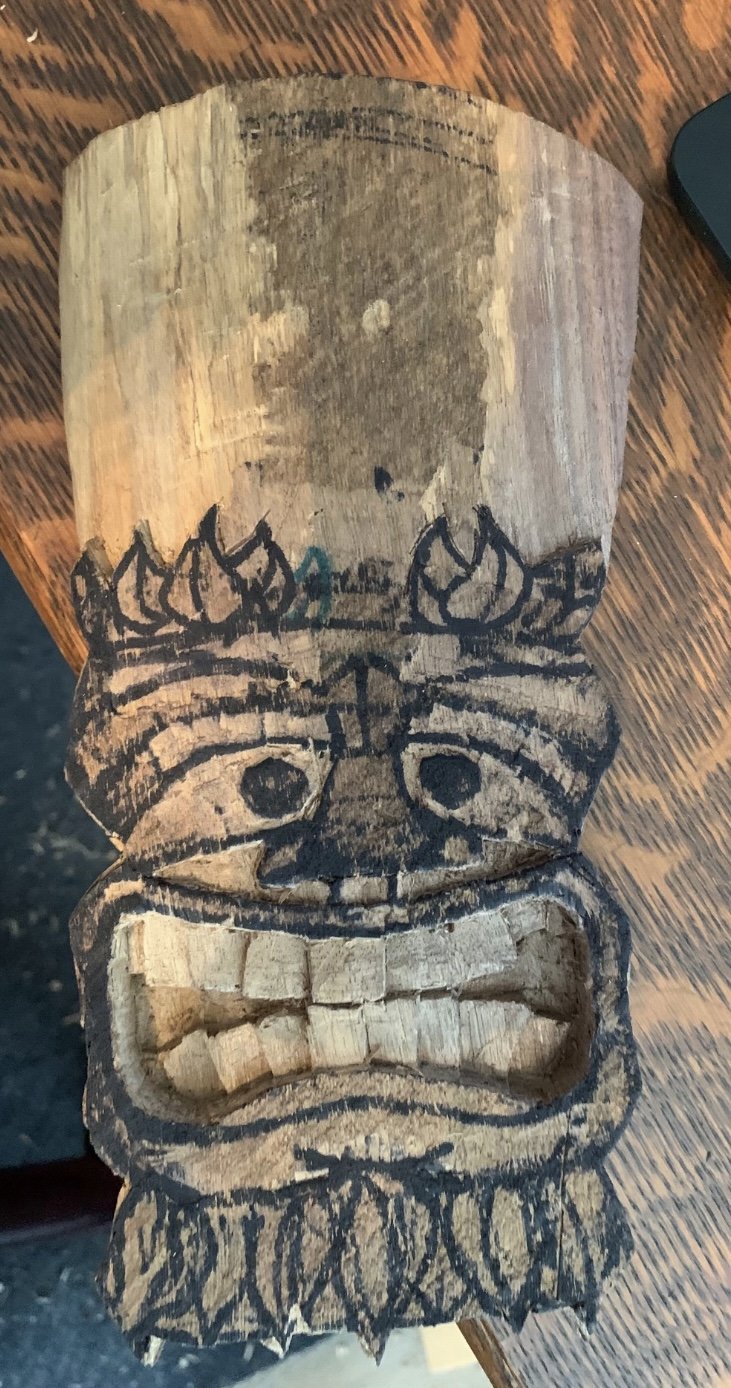
Tiki

The final, sans some sanding, a couple coats of oil and a good shellacking.
Commissioned in 2023.

Process….

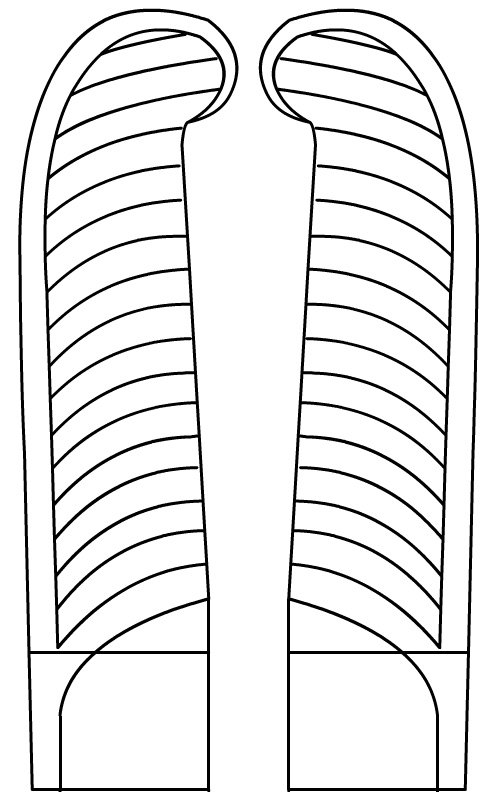
A New Chair

Elements for a new chair…

Home elements

When our home was new, our staircase was carpeted, plain and brown. We needed something new. This is the look now.

Staircase

the Pomeroy Apple.

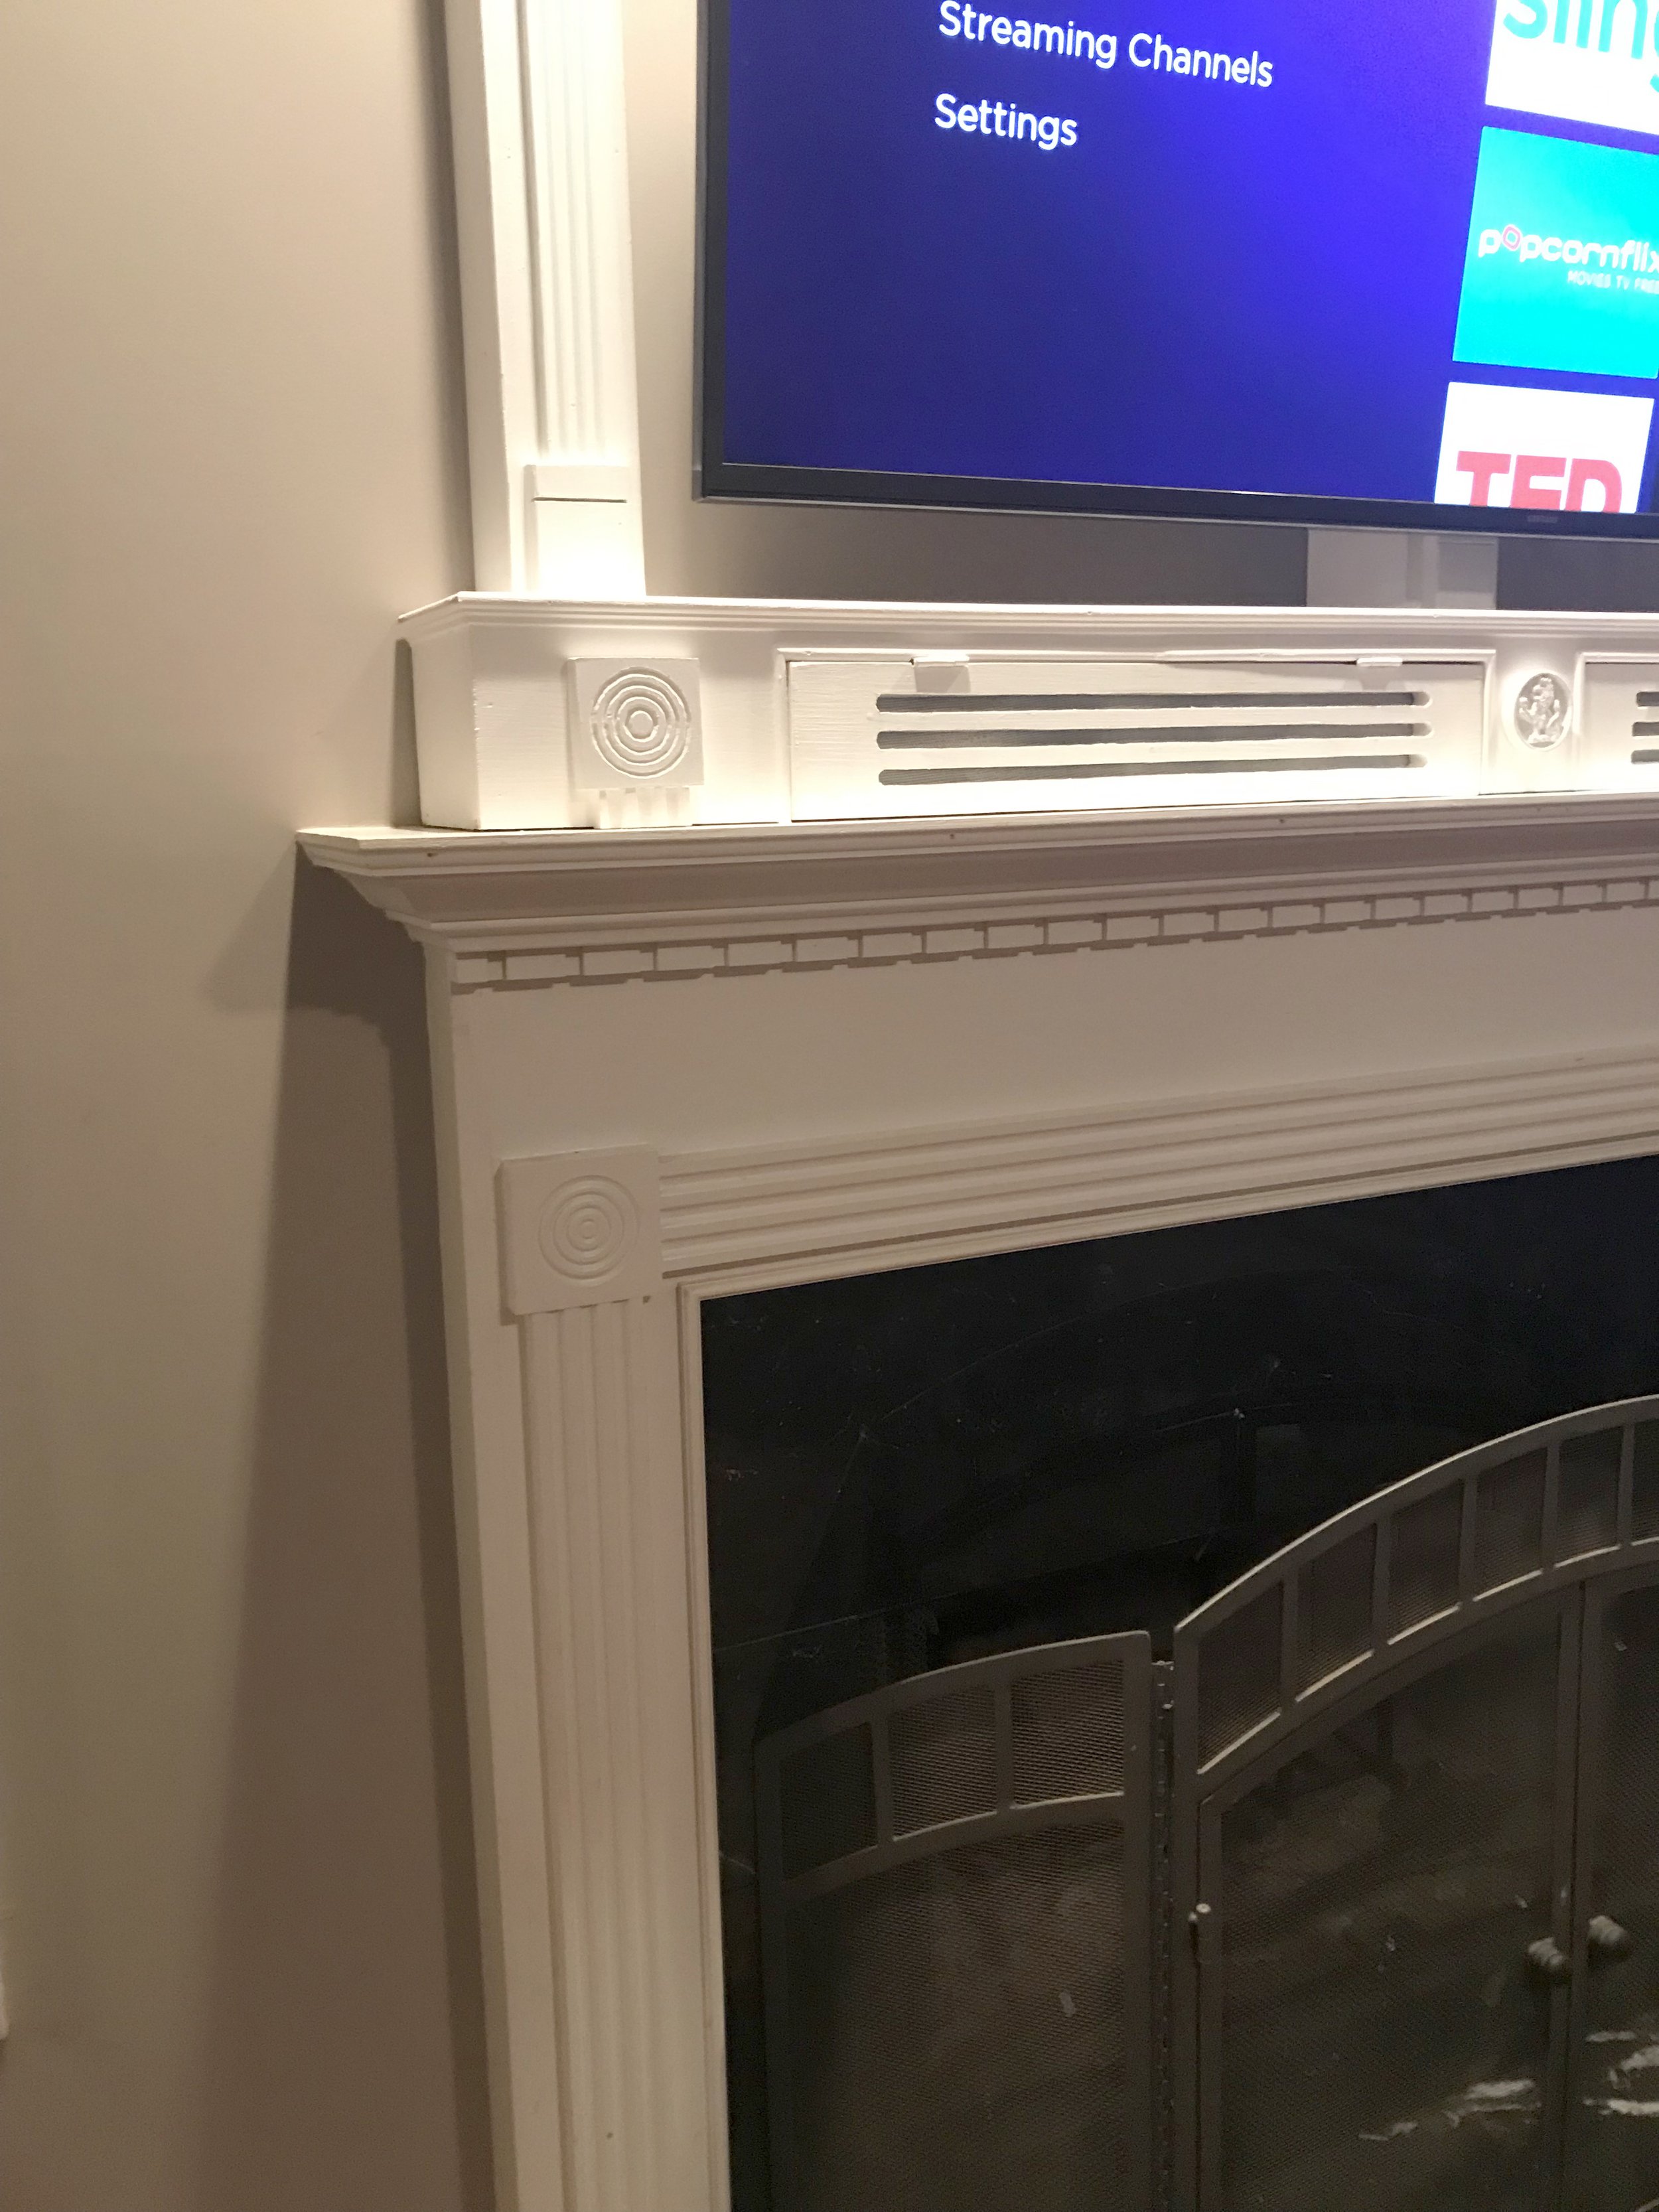
Entertainment - using elements of the existing fireplace mantle design.

Added mantle piece

Created to work with the size of the TV and to conceal cords and devices.

Other projects…

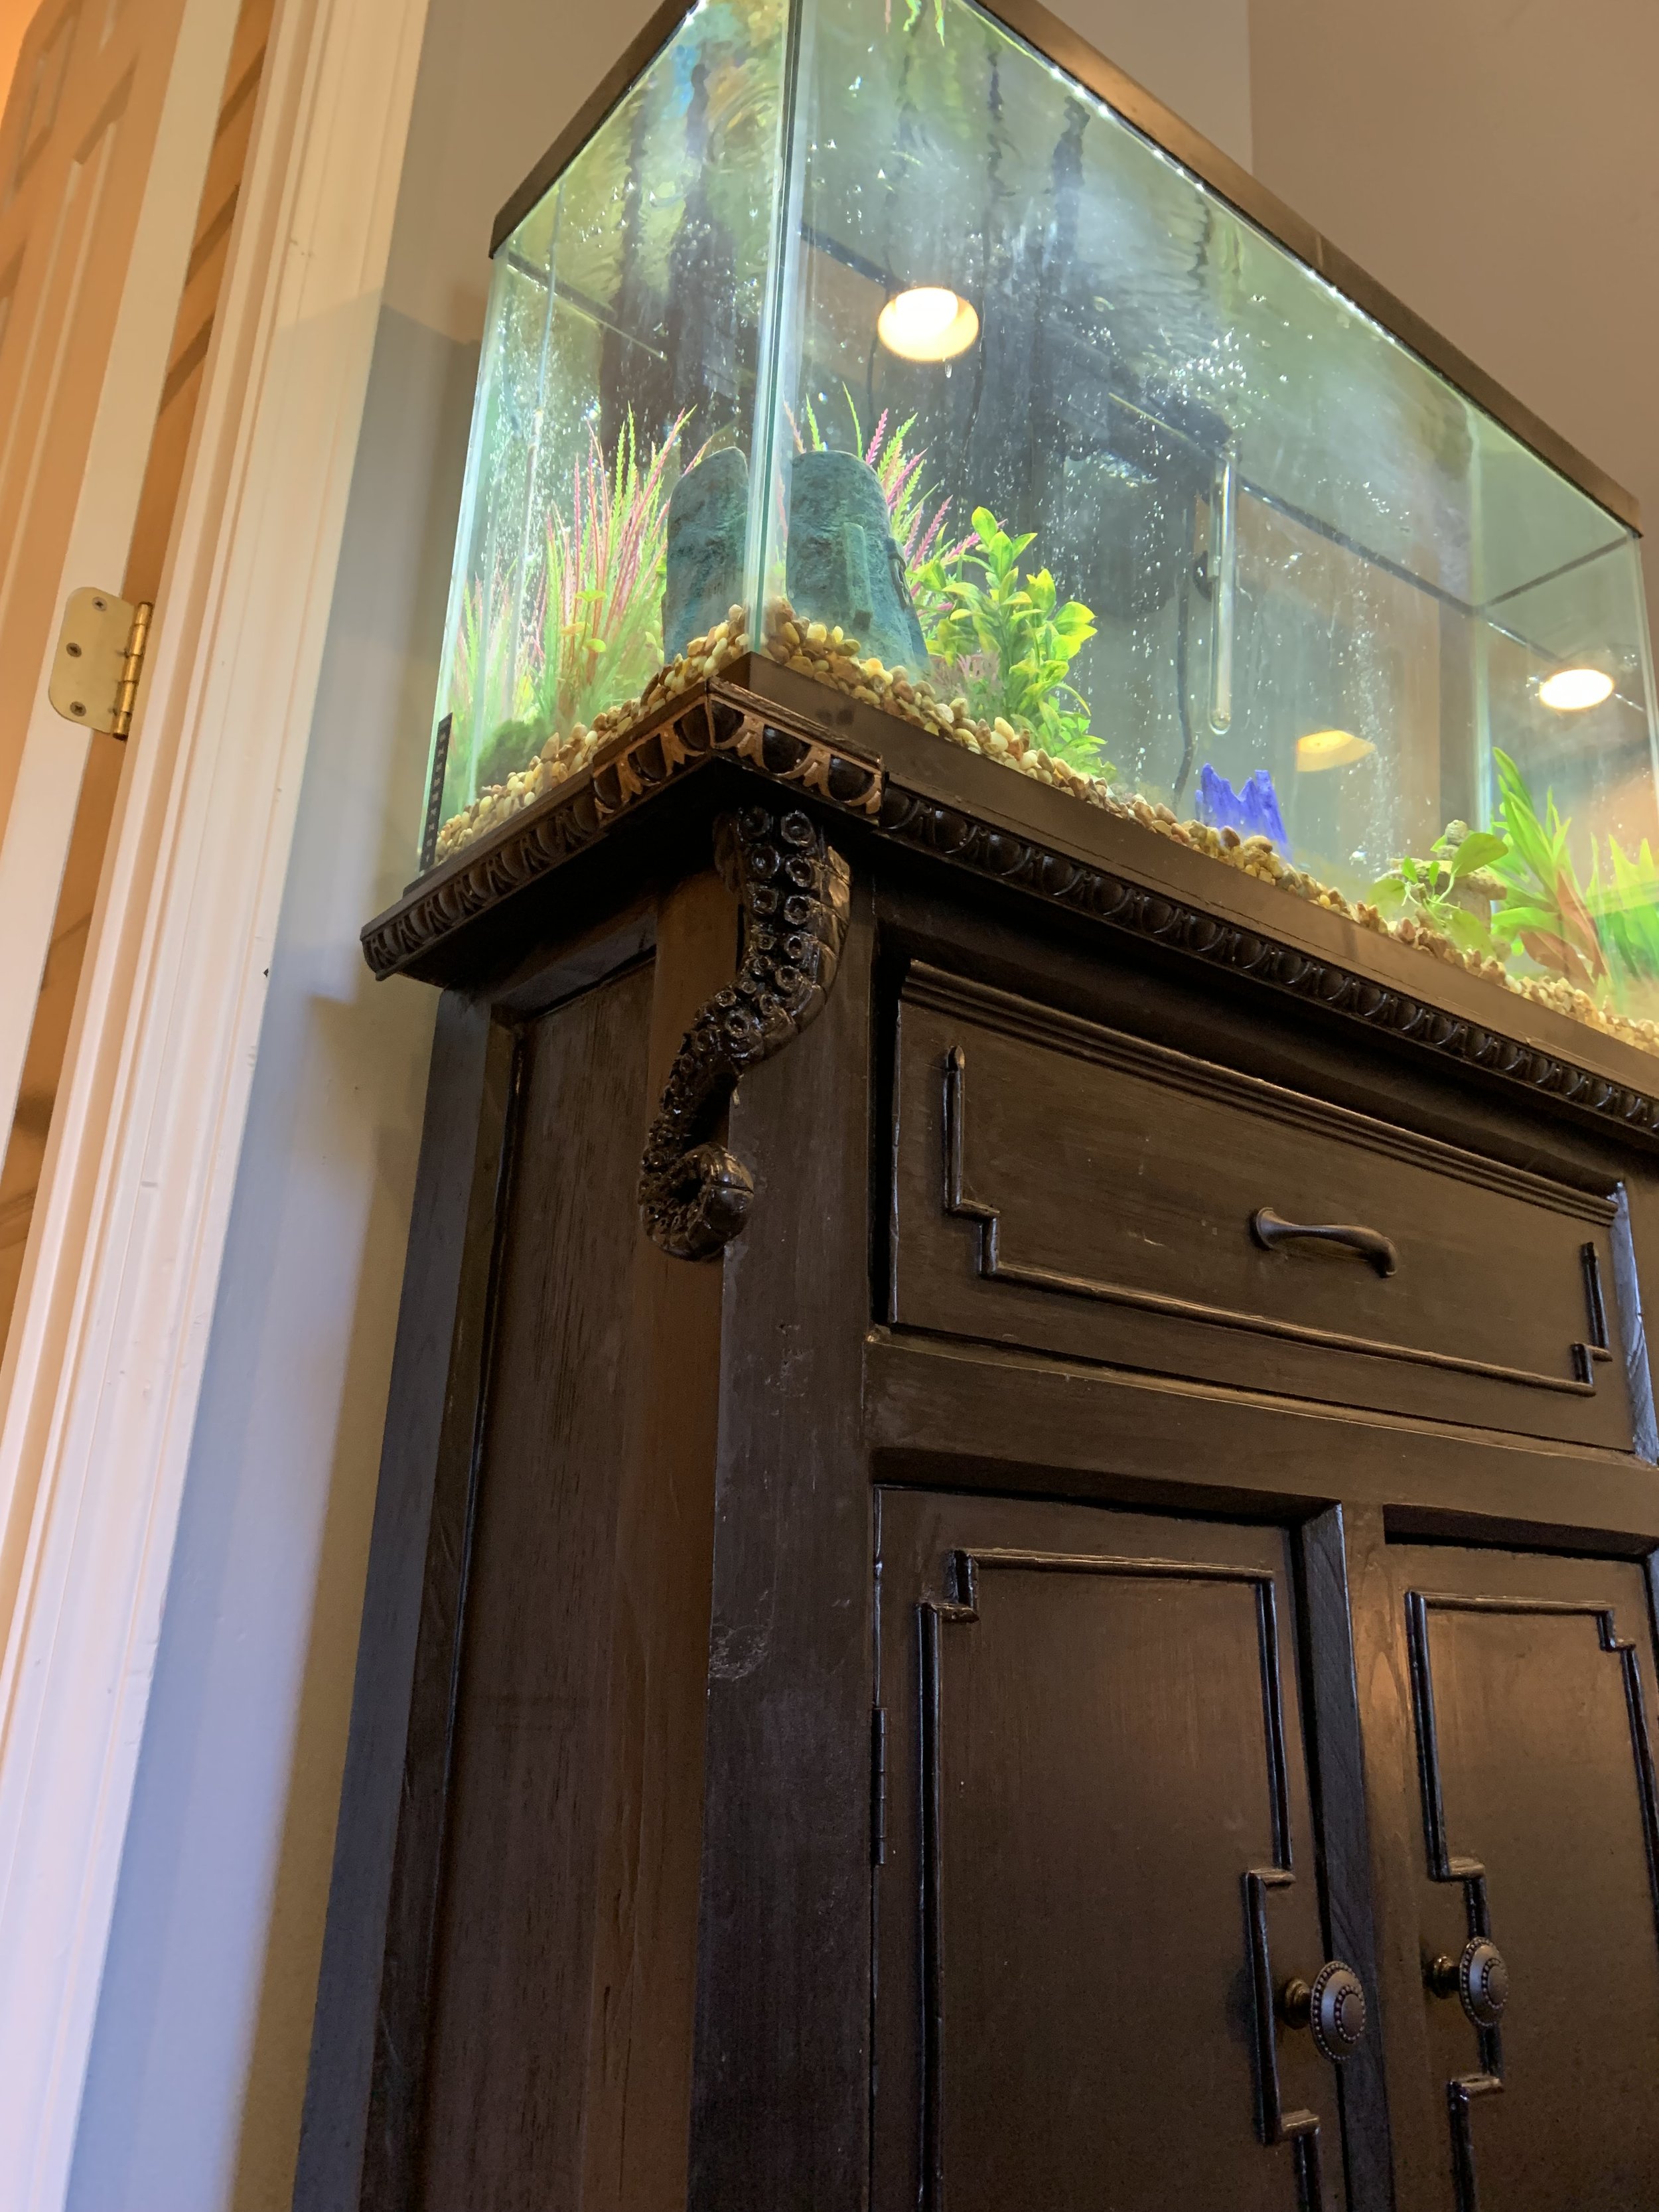
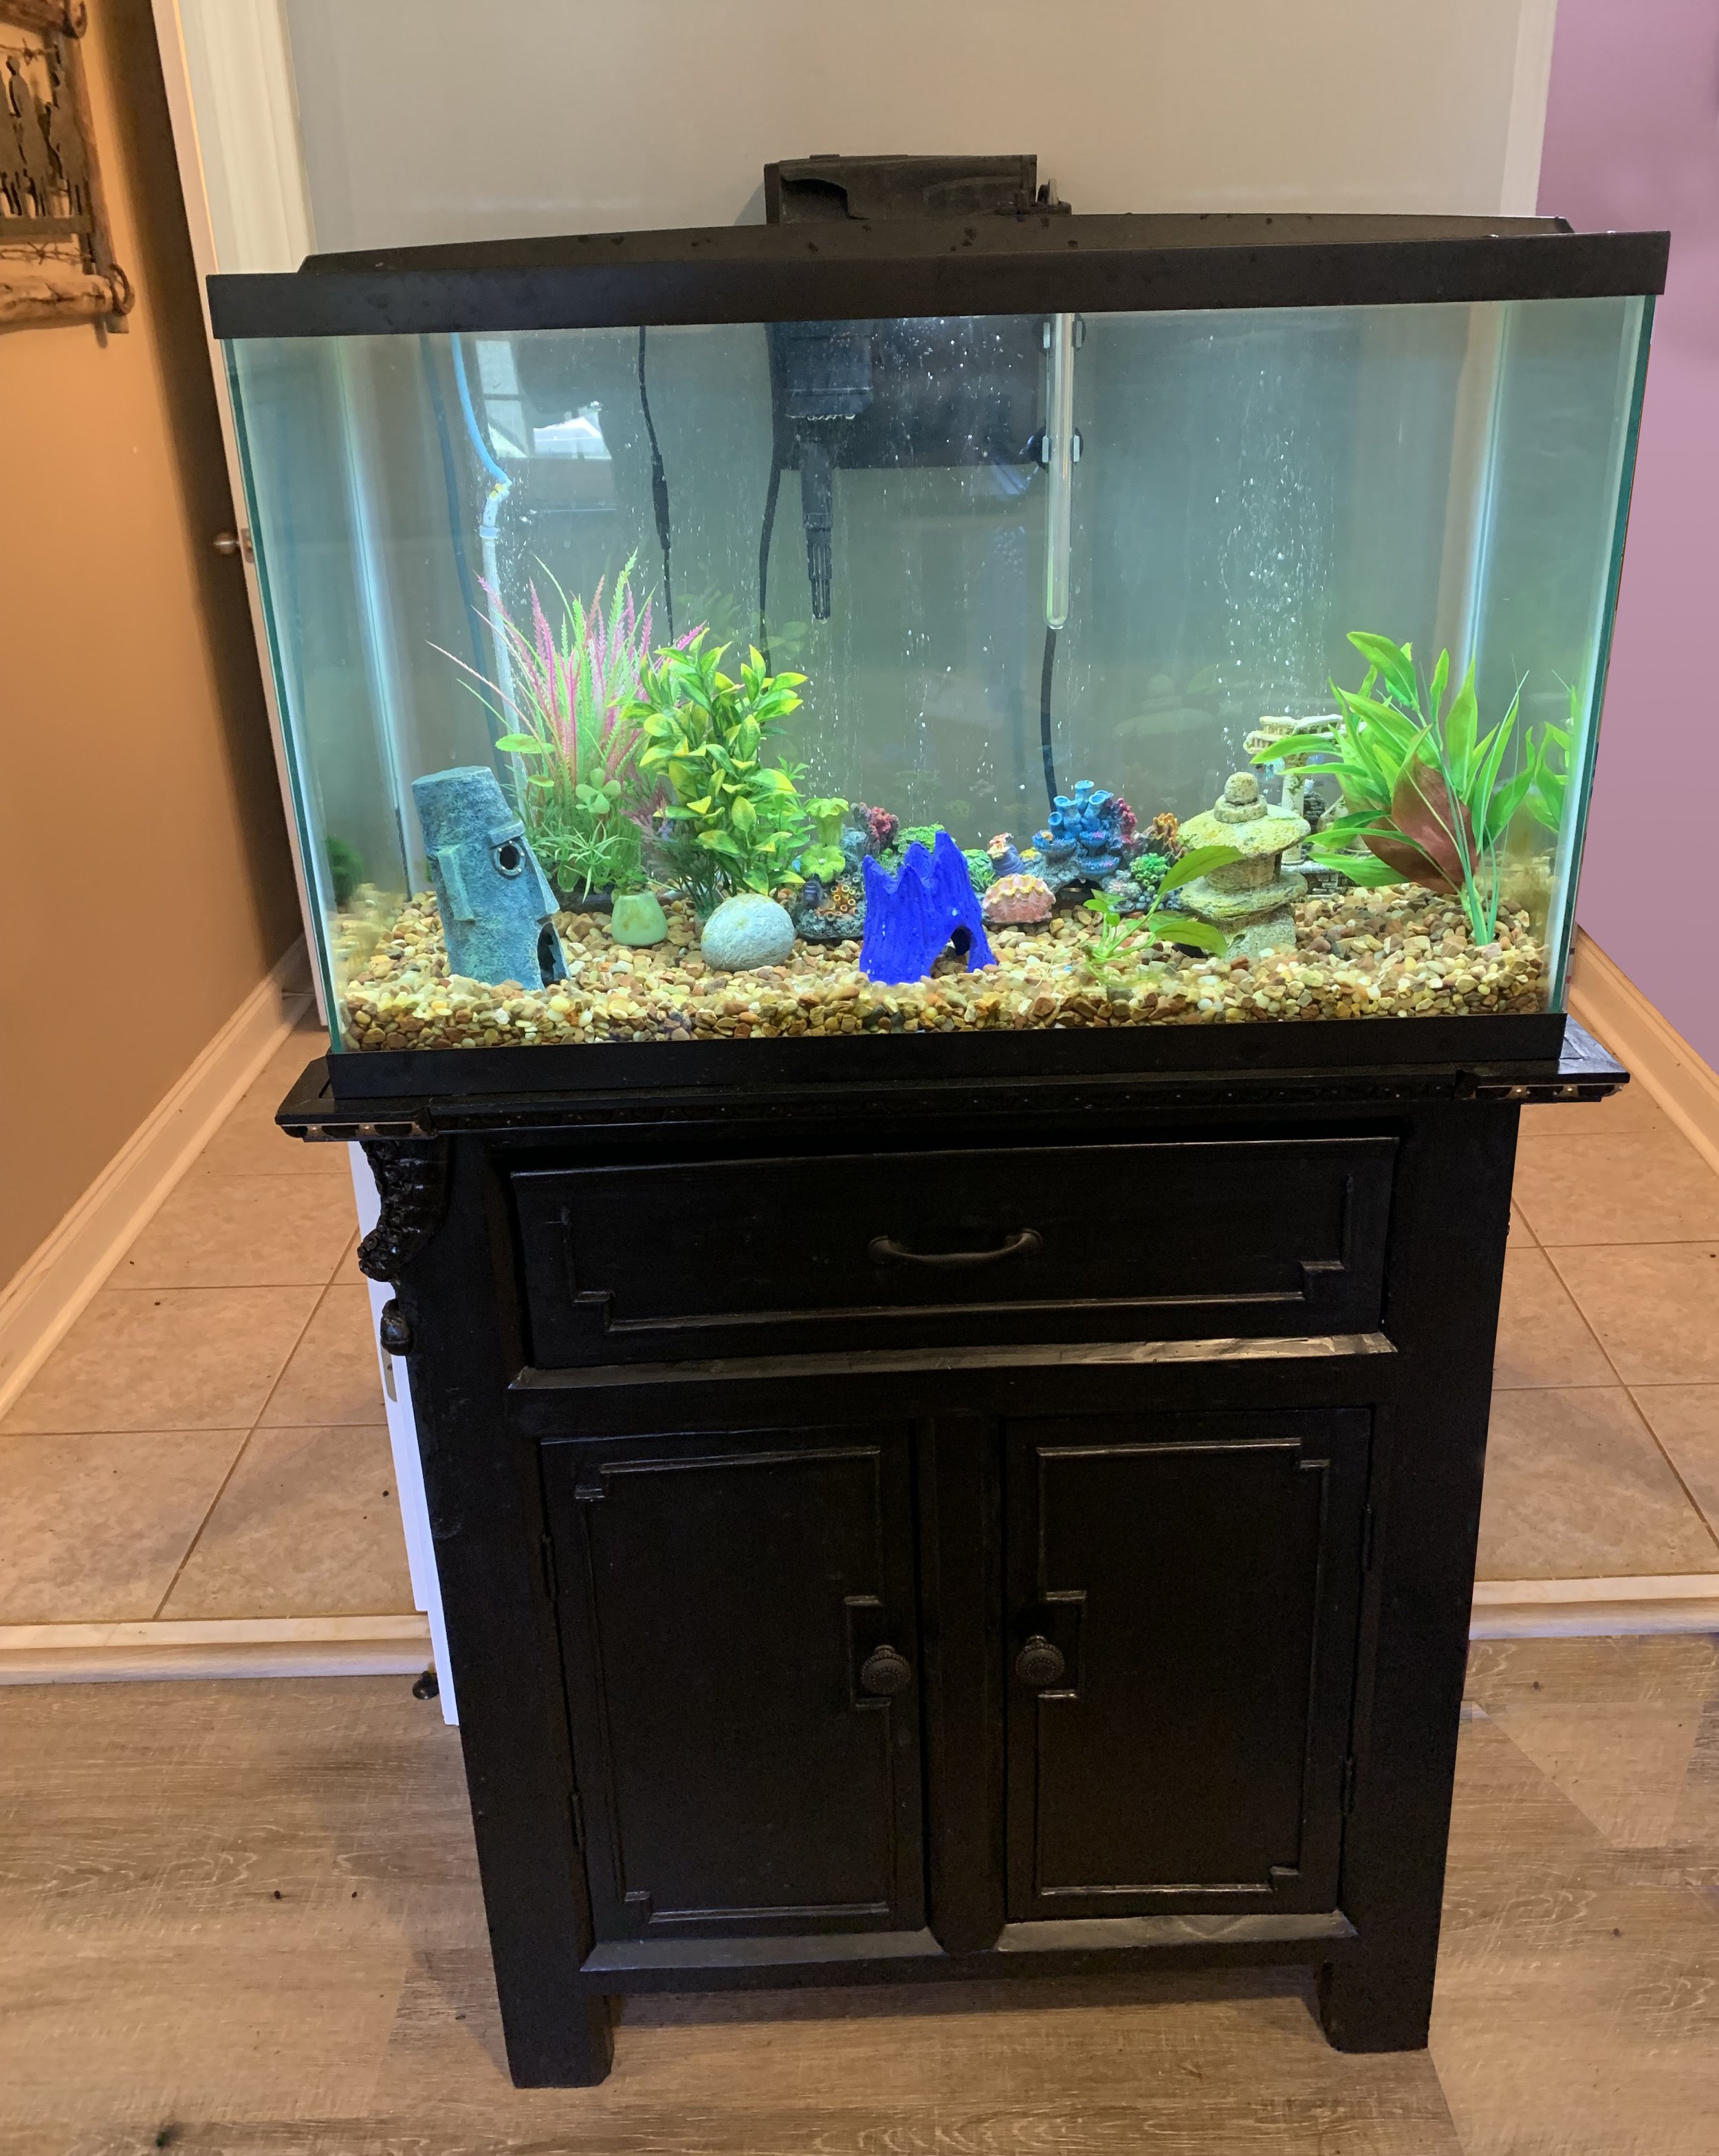
Fishtank Cabinet

Completed (mostly in 2021) - custom sized to fit the 32 gallon tank.
Made from pine 2x4s and plywood - elements from Pine. This thing is sturdy.

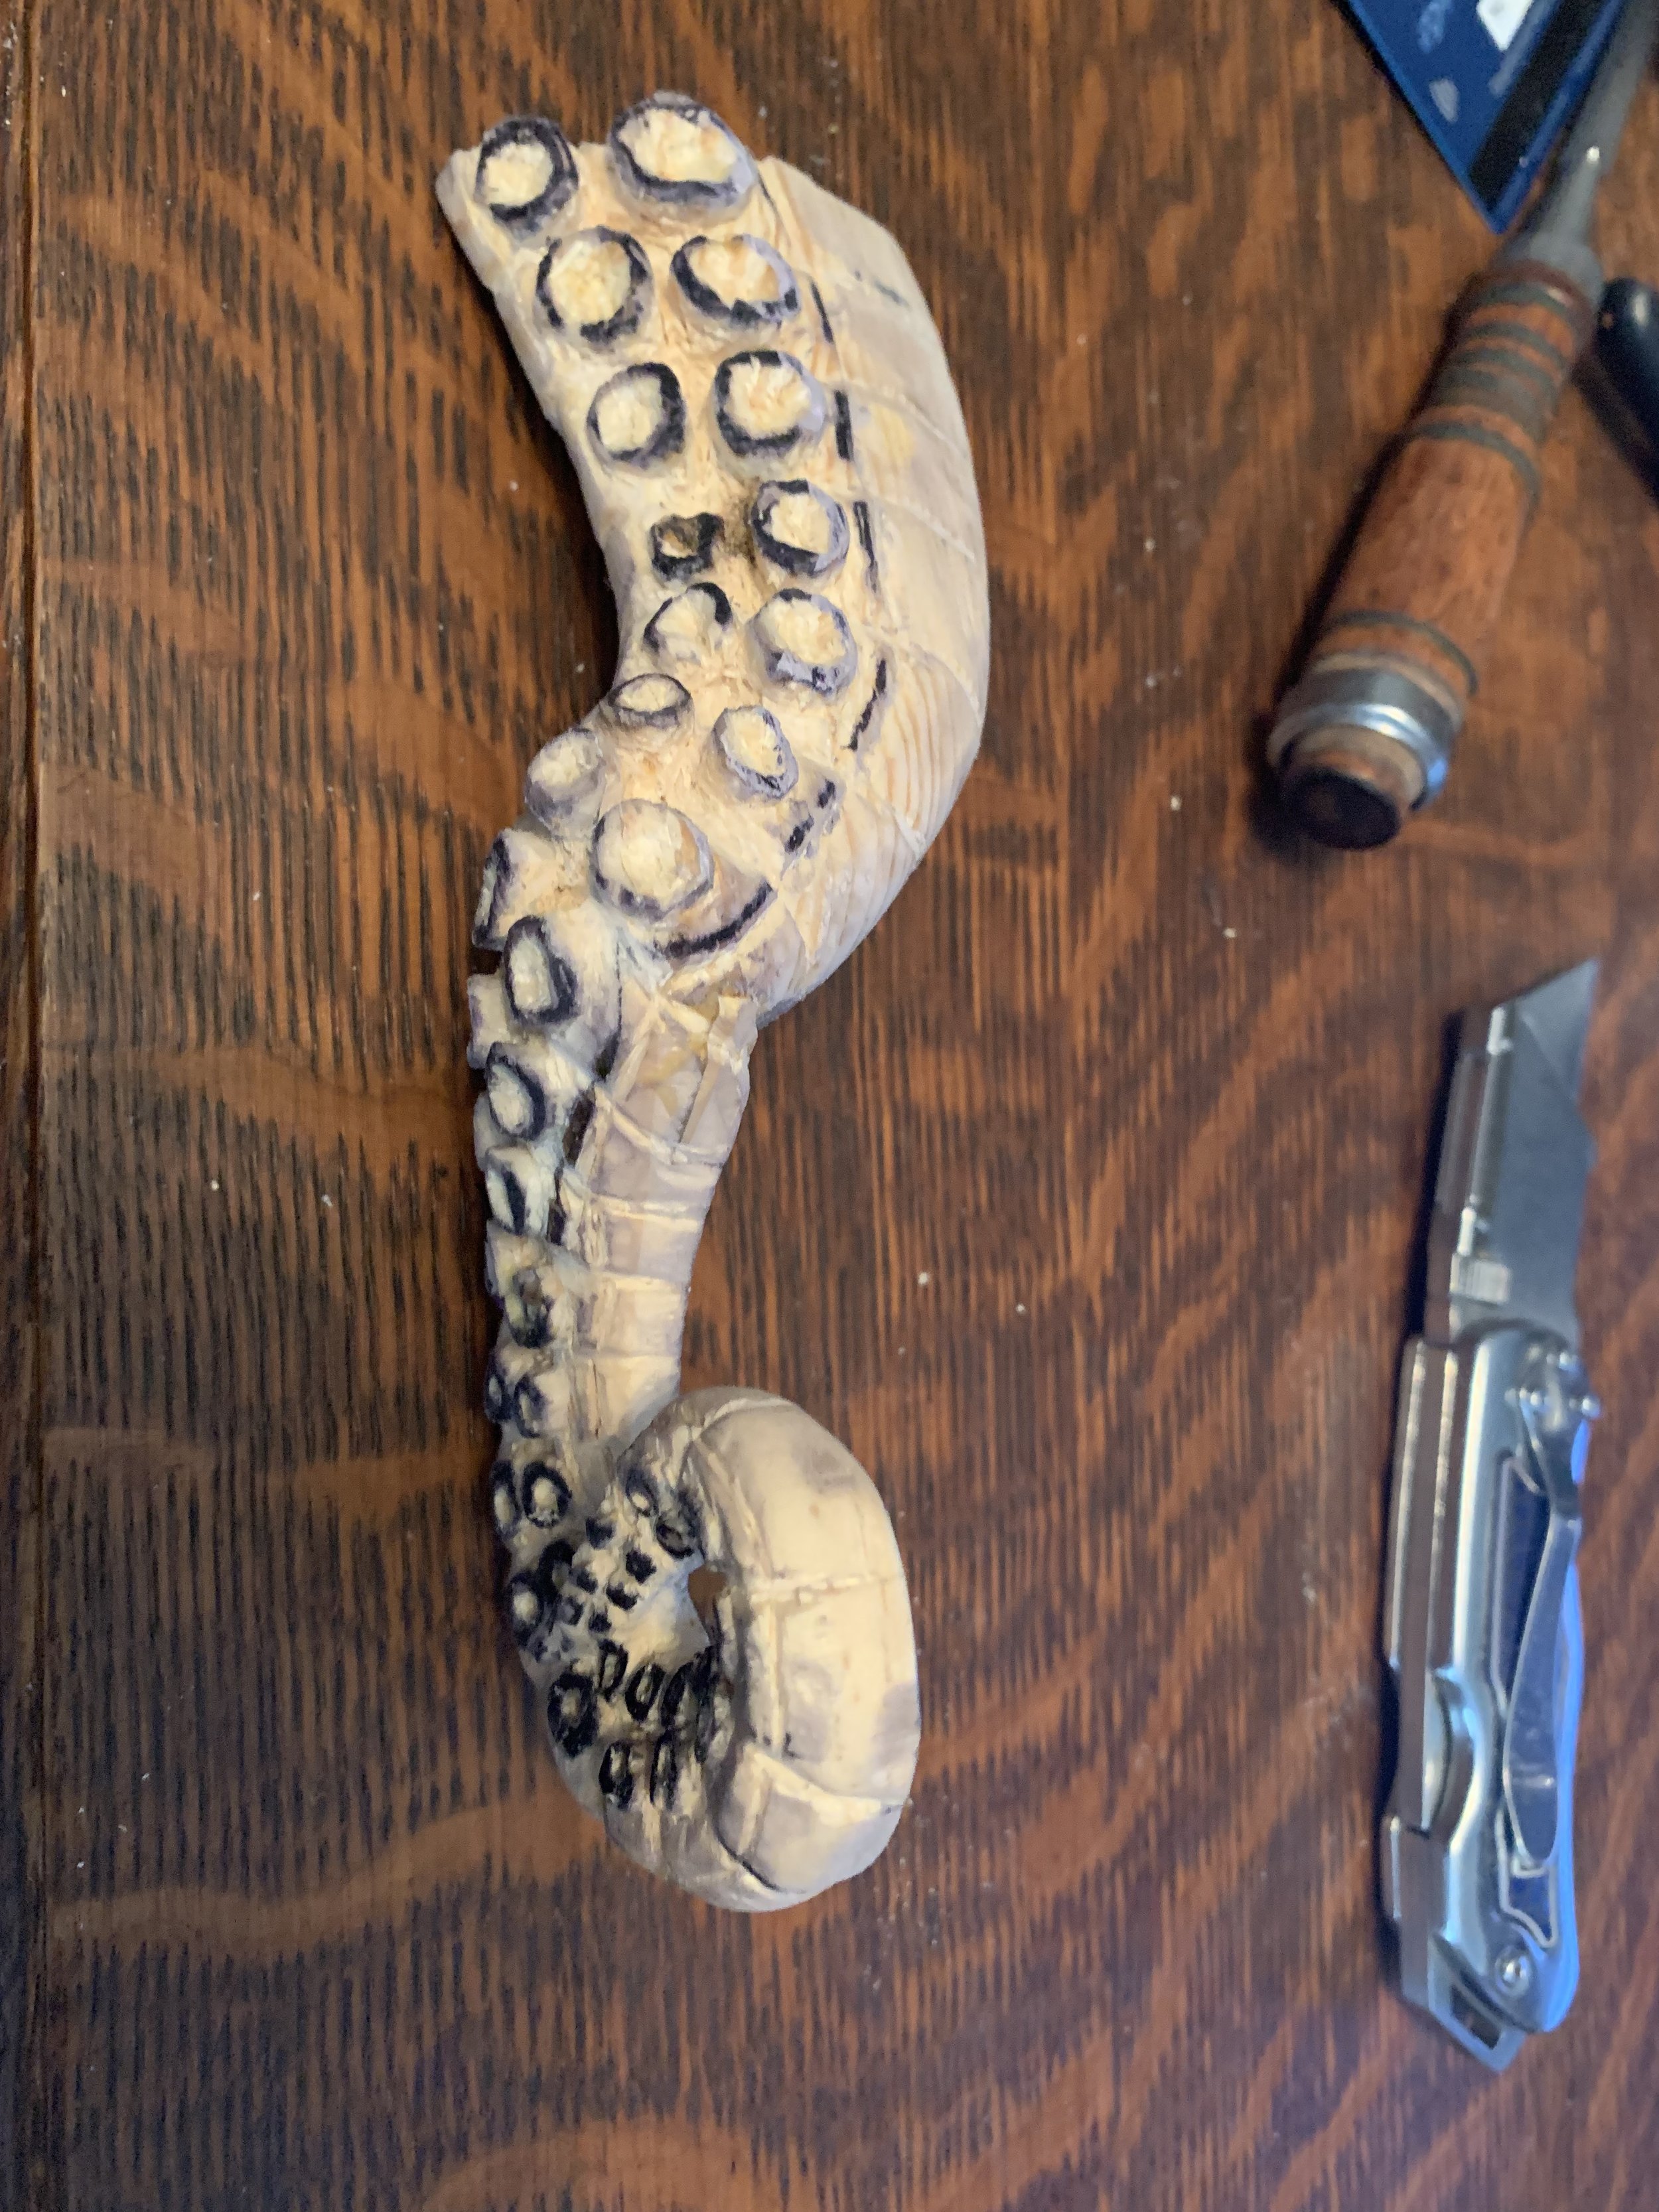
Embellishments include octopus carvings, egg & dart trim and hardware chosen to match the style.

The First Design

My first chair, created for my oldest son.

Made of Oak, based on a roman Savonarola. Completed in 2015

Carving Out a Future

The muse has many faces. She beckons with a call and sends scattered concepts that the artist tries to reassemble into meaningful content.

I’ve been working with wood for the better of 20 years, but never in a capacity greater than for personal use.

Many projects started as ‘needs’ or ‘wants’ from my wife, who always seems to have a different idea than I do for design or purpose of any article I build. That being said, there is a therapeutic side to creating utilitarian objects, and in specific, carving wood for embellishment.

hed.jpg

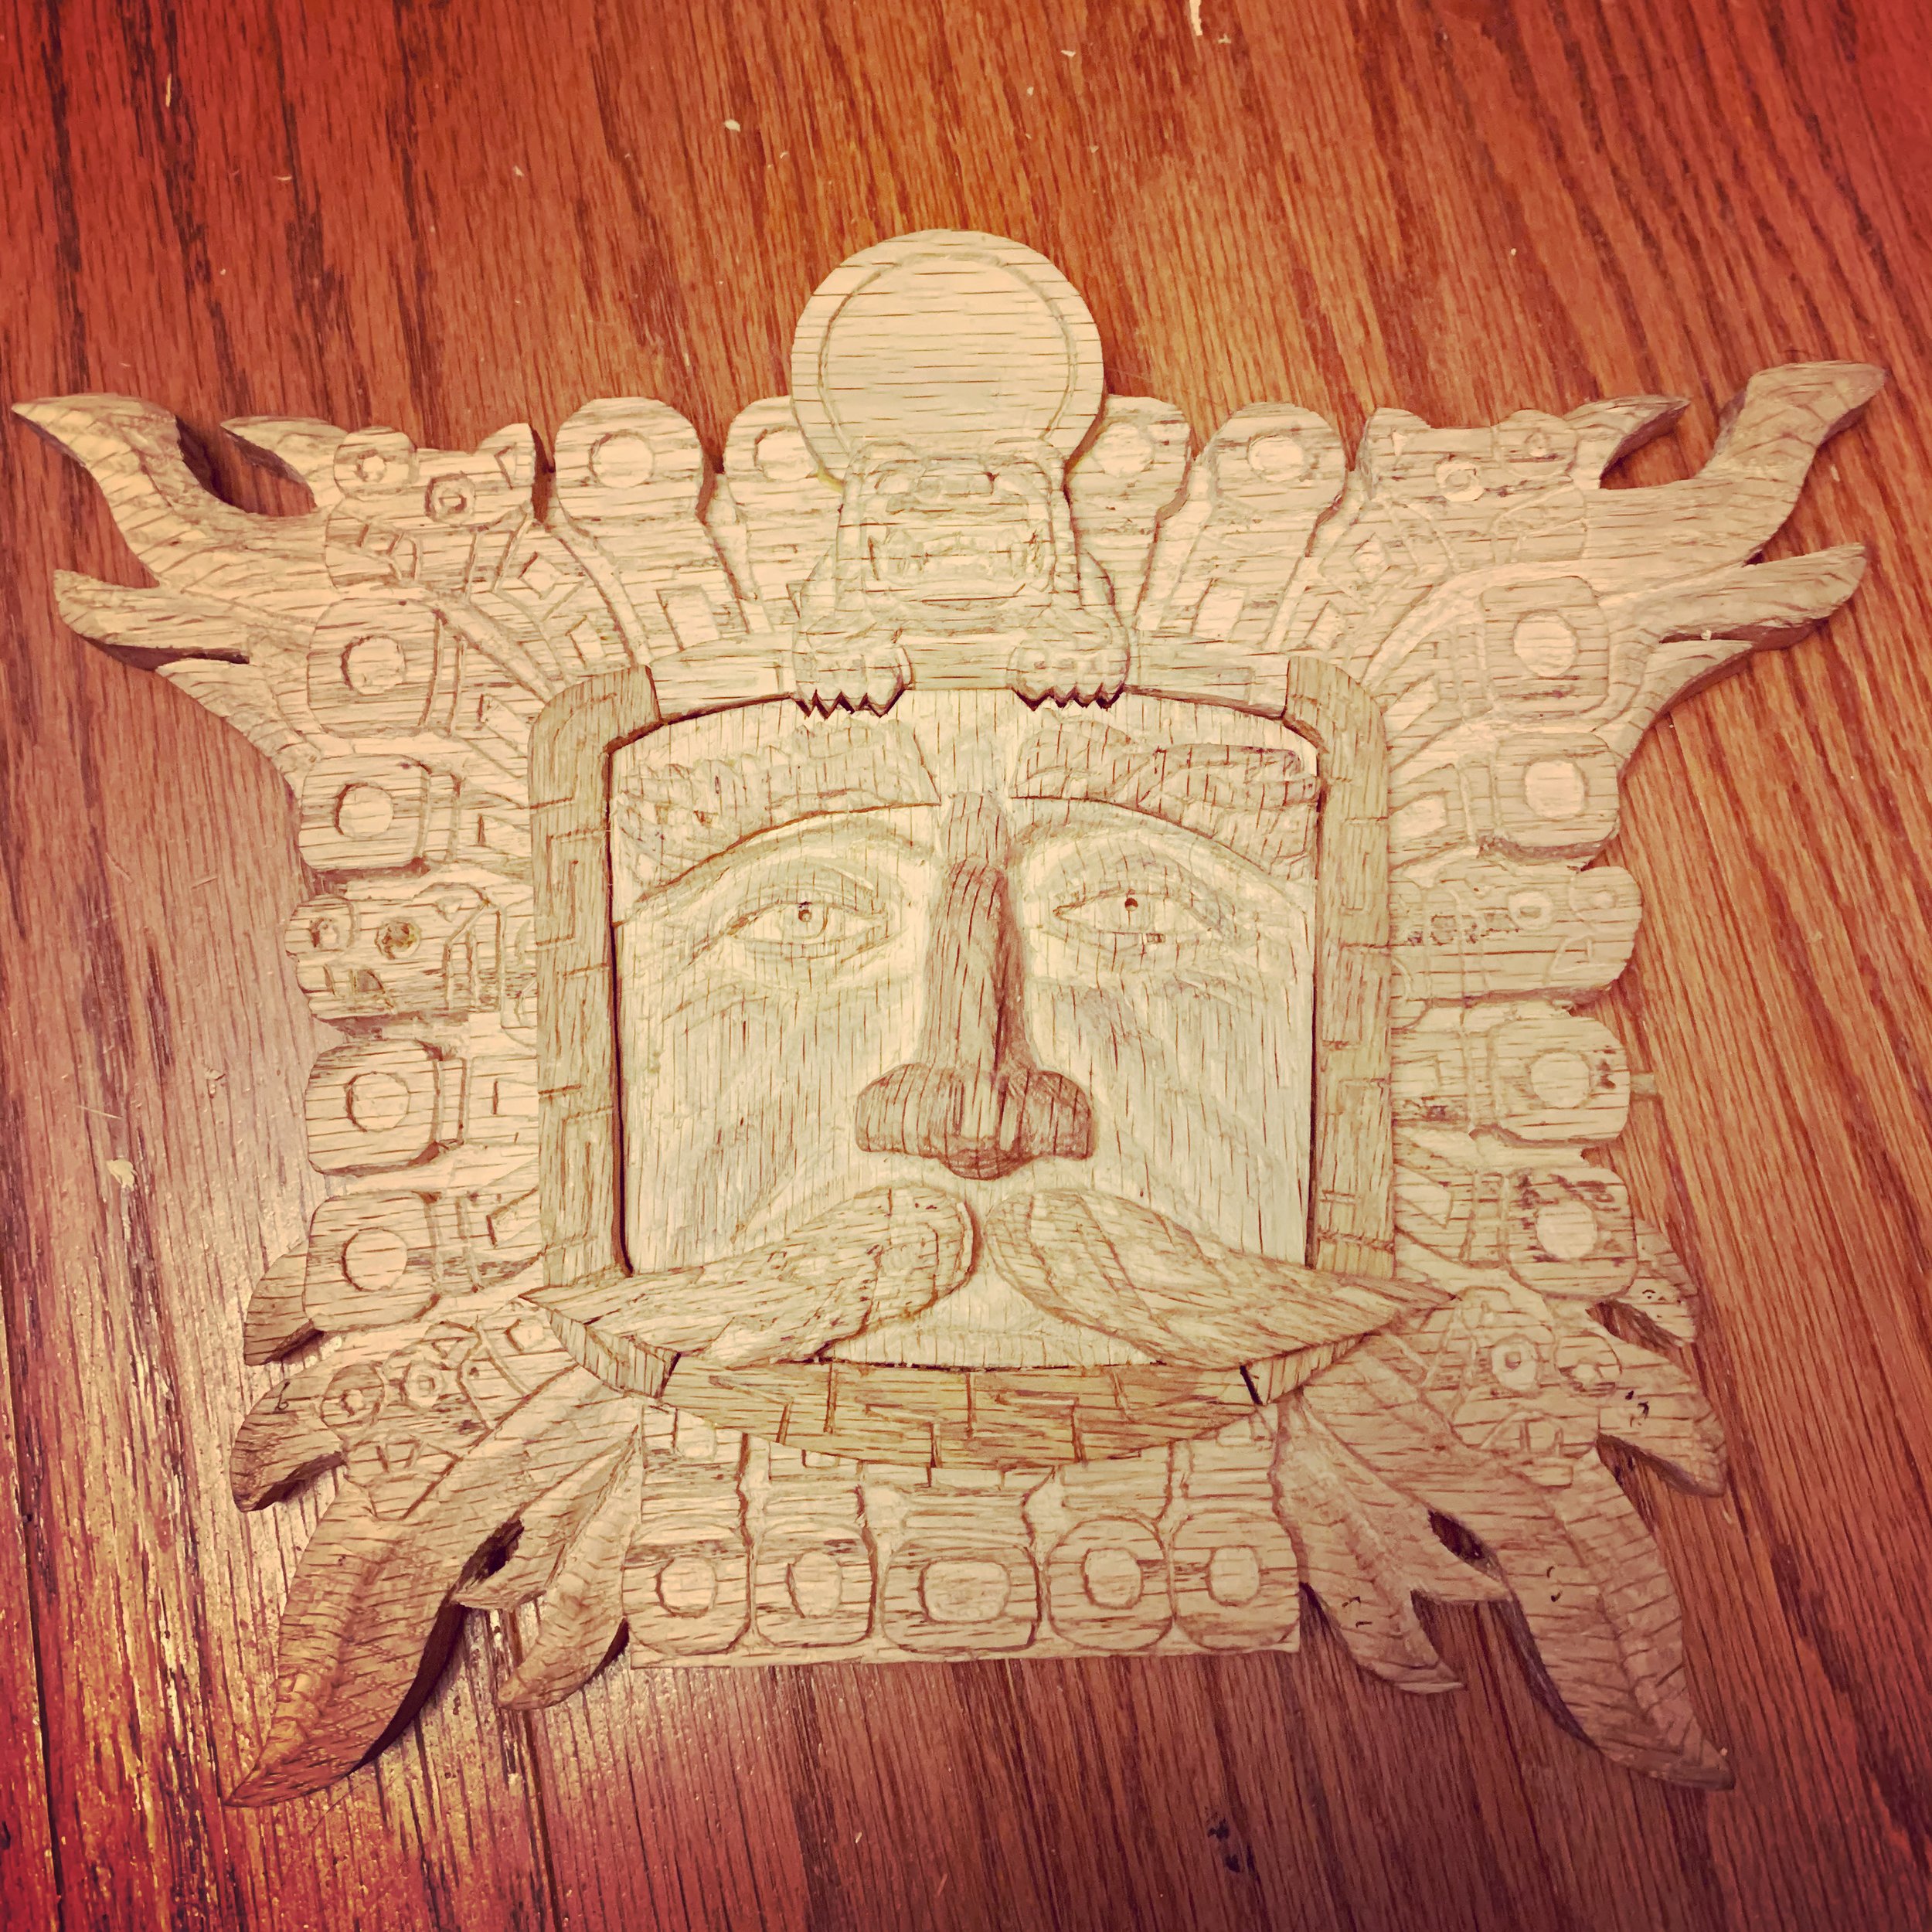
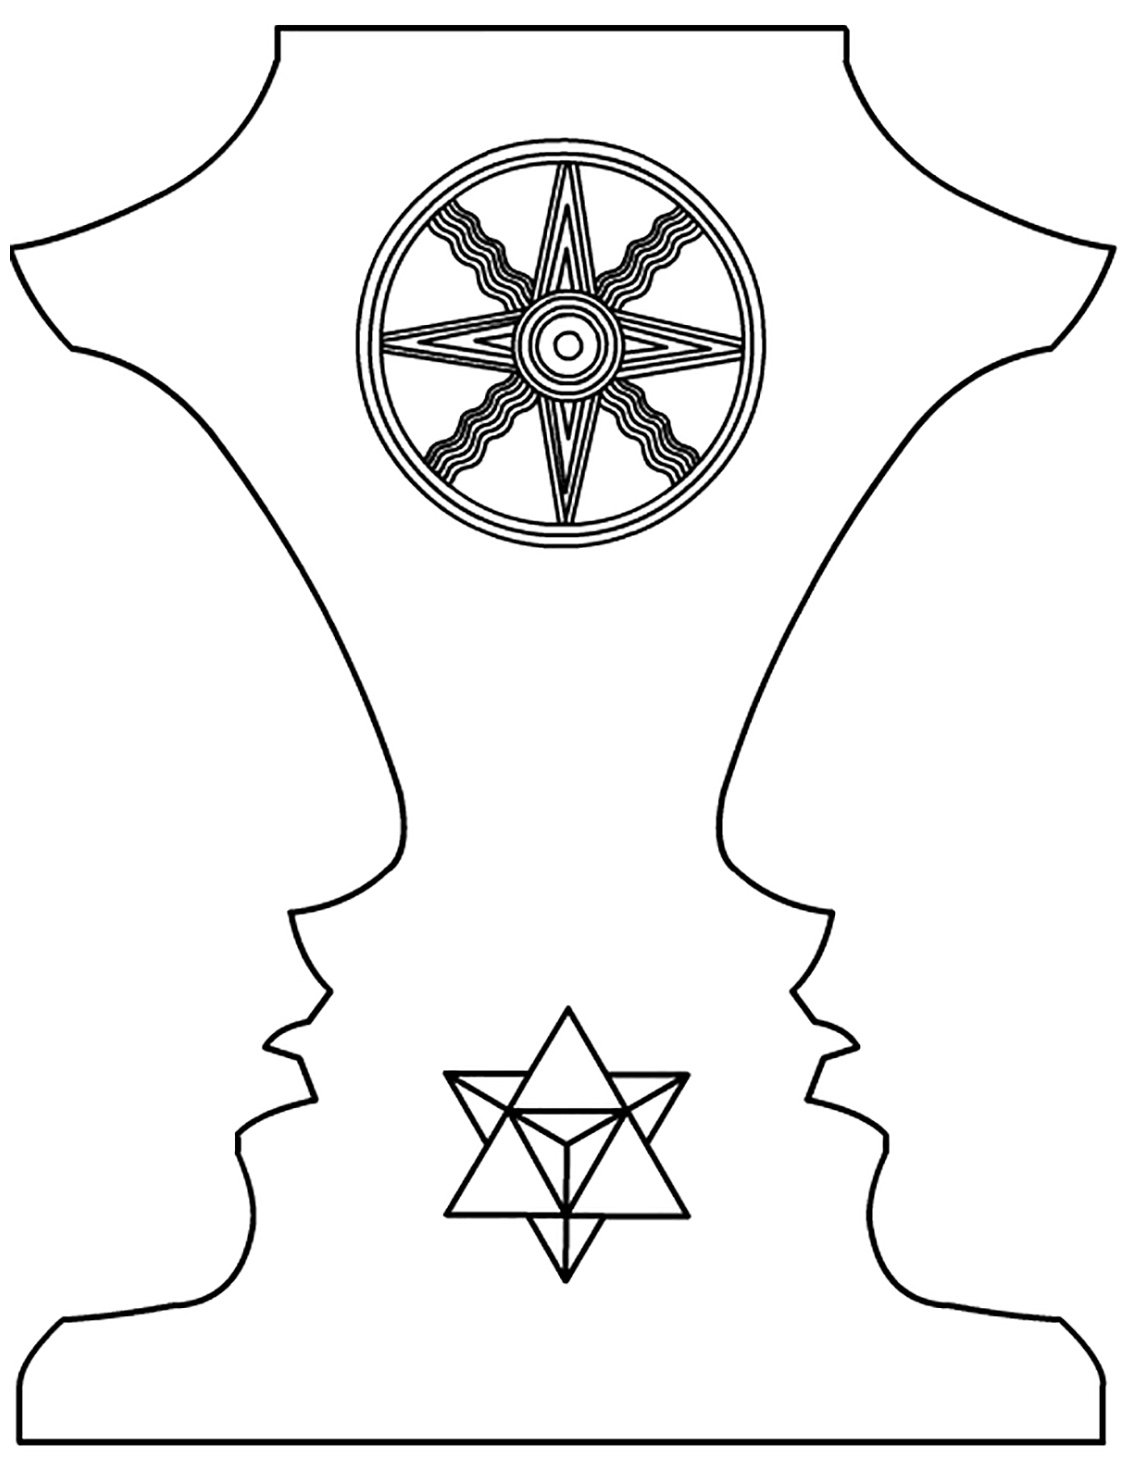
Headboard for chair

Inspired by Victorian furniture and religions of all cultures.